Screencastify Chrome Extension 2026 Full Guide

In today’s digital-first world, screen recording has become an essential tool for educators, content creators, business professionals, and students alike. Whether you’re conducting an online tutorial, recording a product demo, or capturing an important video call, the ability to quickly record and share your screen is invaluable. One of the most popular screen recording tools available as a Chrome extension is Screencastify.
This guide will take you through everything you need to know about Screencastify extension, and discuss whether it can meet your recording needs.
1. What is Screencastify?
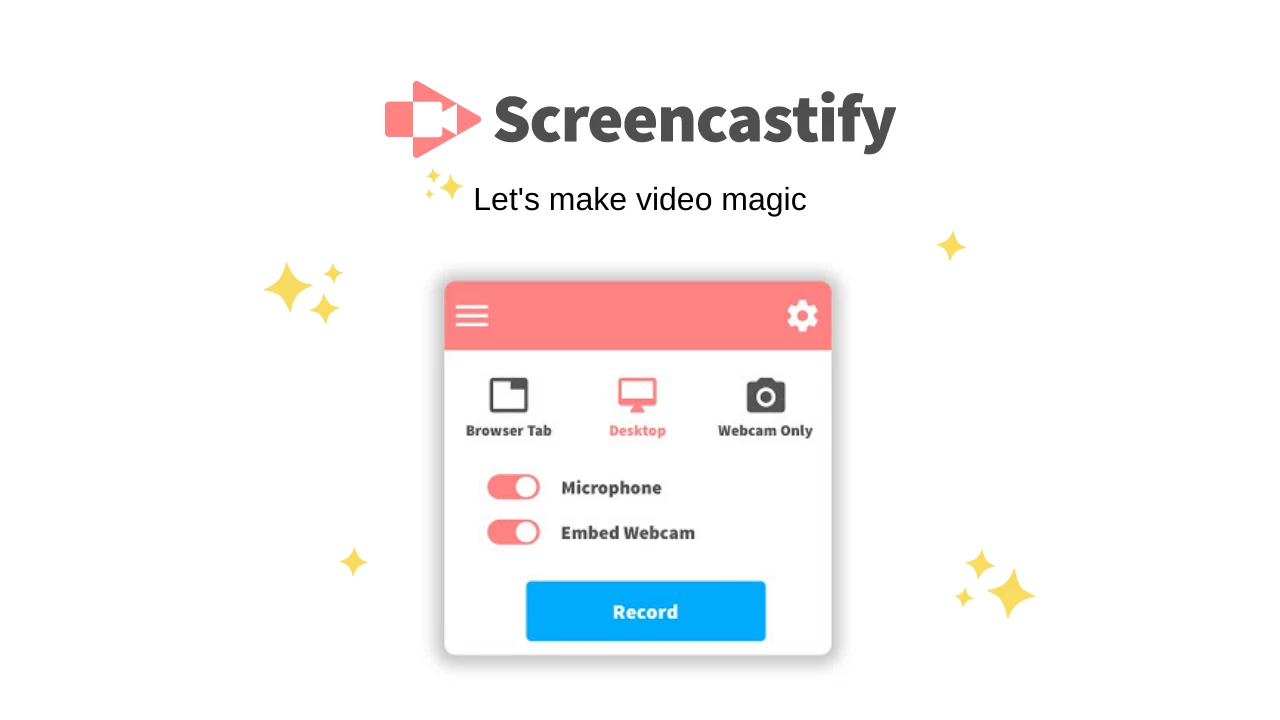
Screencastify is a powerful yet easy-to-use screen recording extension designed specifically for the Google Chrome browser. It allows users to capture their entire desktop, a specific browser tab, or webcam footage directly within the Chrome browser. With just a few clicks, users can create professional-looking screencasts for tutorials, lessons, presentations, or feedback videos.
Screencastify stores recordings locally or on Google Drive and includes basic video editing capabilities such as trimming, merging, and adding text. Its intuitive interface makes it a popular choice for educators, especially those using Google Classroom, as well as marketers, trainers, and remote workers.
2. Is Screencastify Free?
Yes – but with limitations.
Screencastify offers both a free plan and a premium subscription:
Free Plan Features:
- Limited time per recording
- Store up to 10 videos
- Export to Google Drive or local download
- Basic trimming and sharing
Paid Plans:
- 60 or 120 minute video length
- Unlimited video storage in the library
- Advanced editing tools (merge, crop, blur, zoom, etc.)
- Enhanced export and sharing features
- Priority customer support
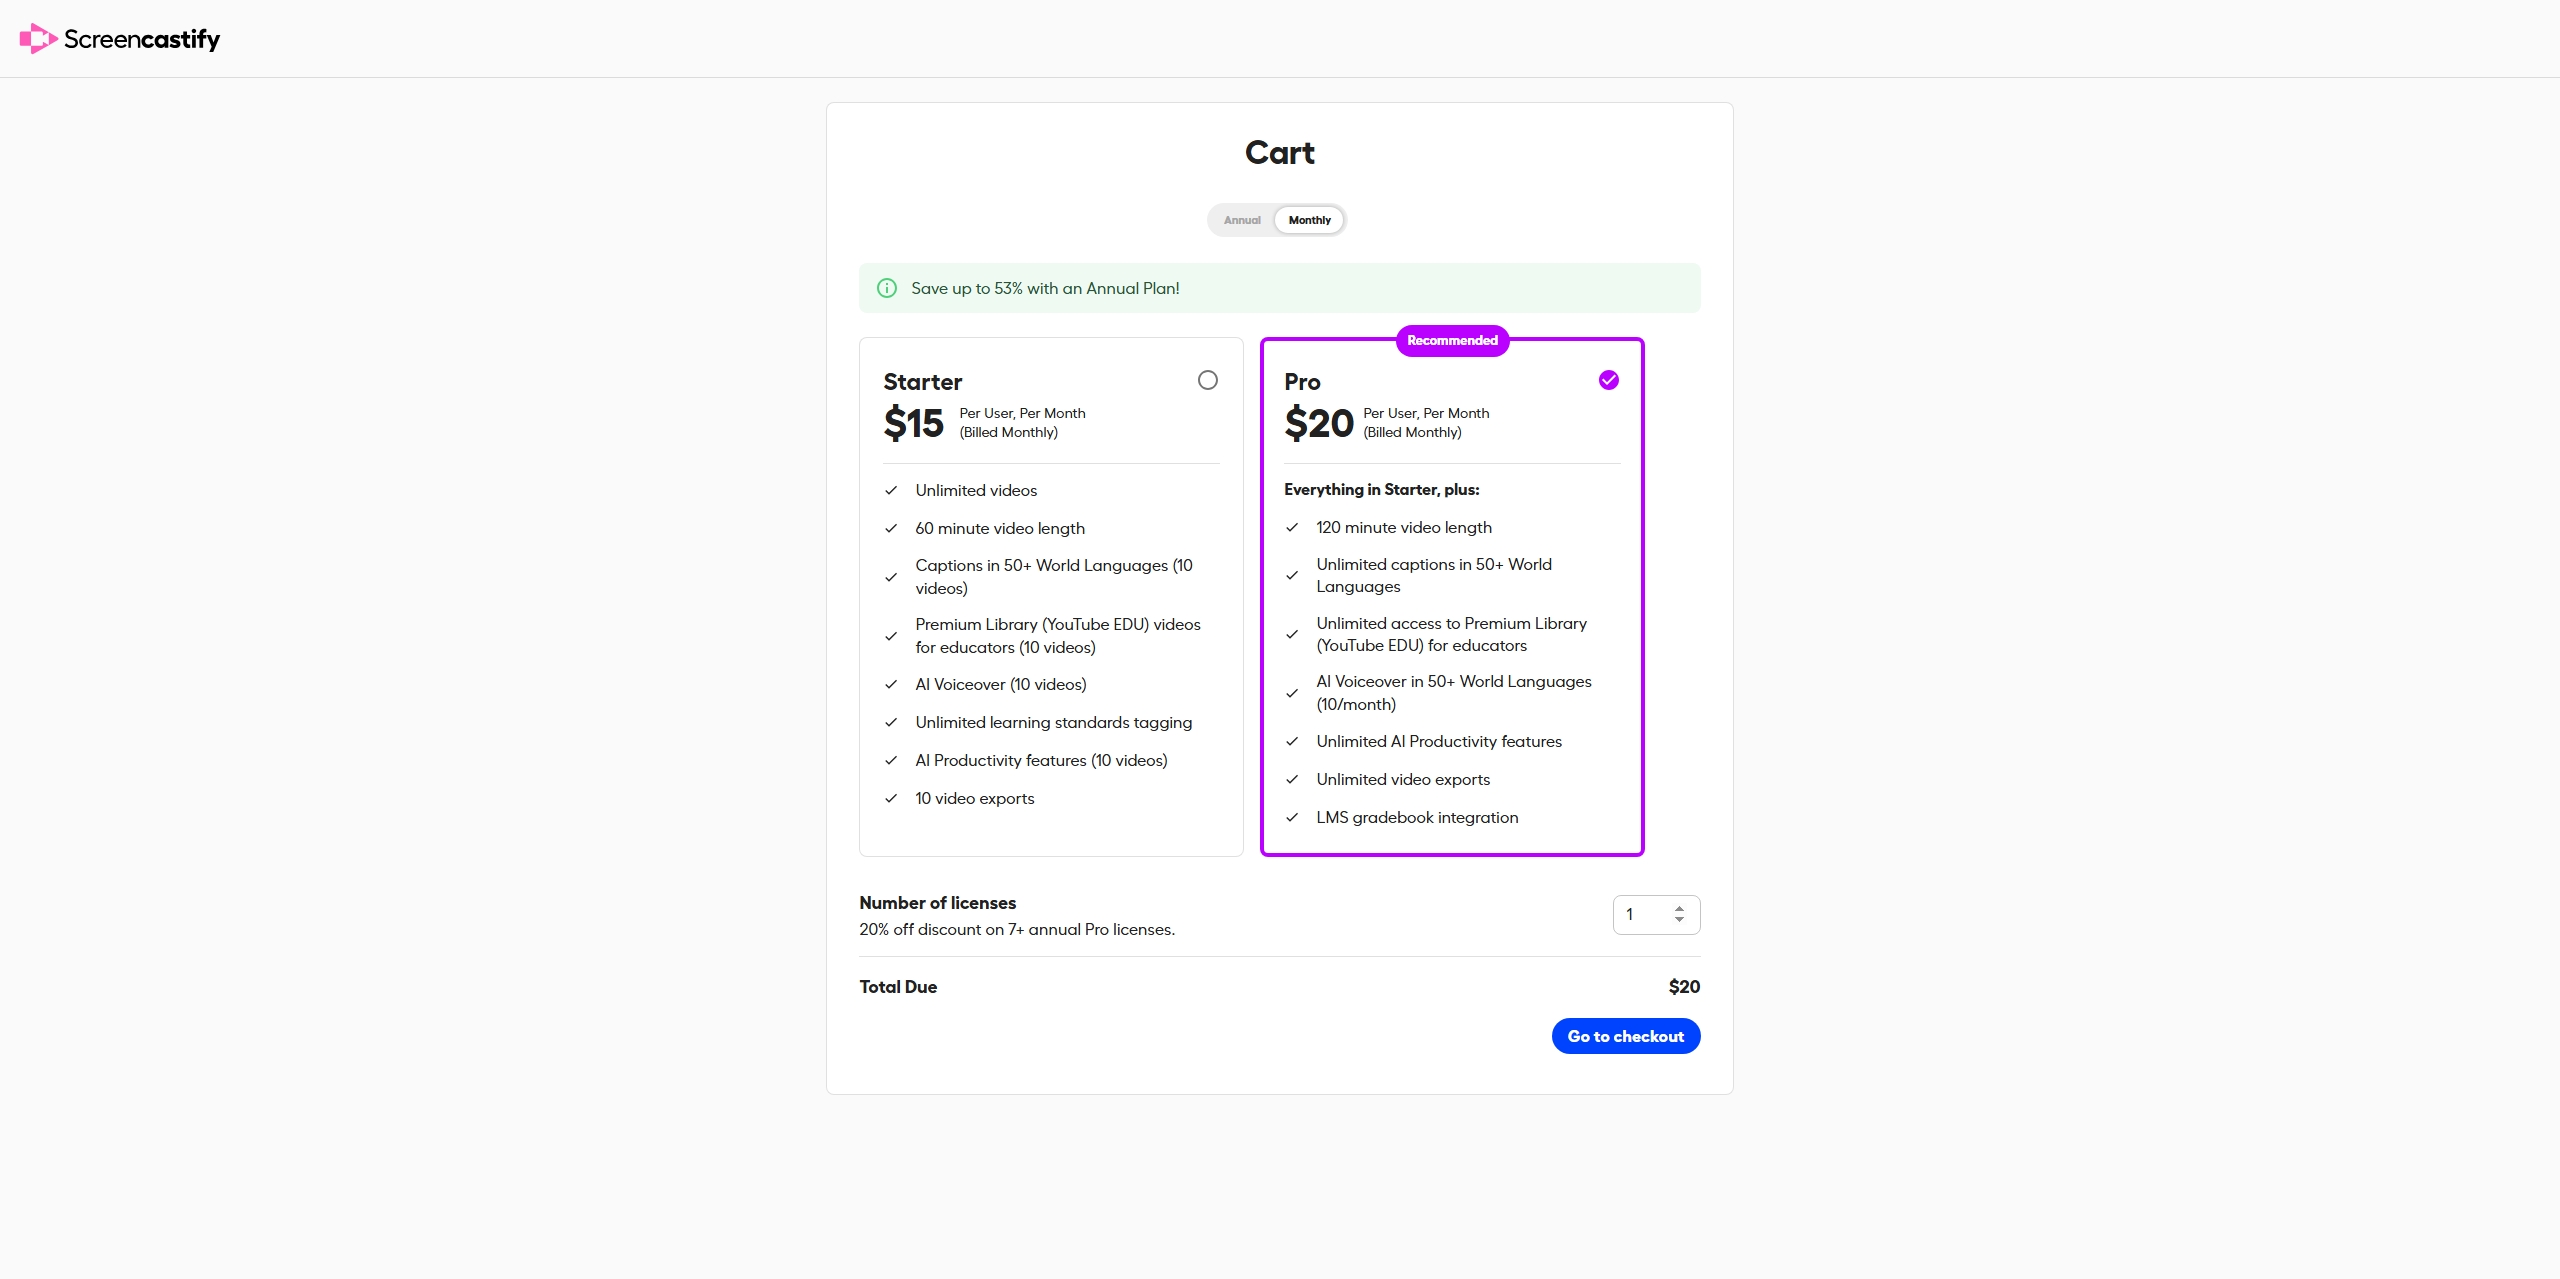
If you’re just doing quick recordings now and then, the free version should do the trick. But if you need longer videos or better editing tools, upgrading is a smart move.
3. How to Use Screencastify to Record
Using Screencastify is straightforward, especially for Chrome users. Here’s a step-by-step guide on how to record on Screencastify:
- Install Screencastify in Chrome Web Store, and grant necessary permissions like microphone, webcam, and screen access.
- Sign in with your Google account to start saving recordings to Drive and using Screencastify’s features.
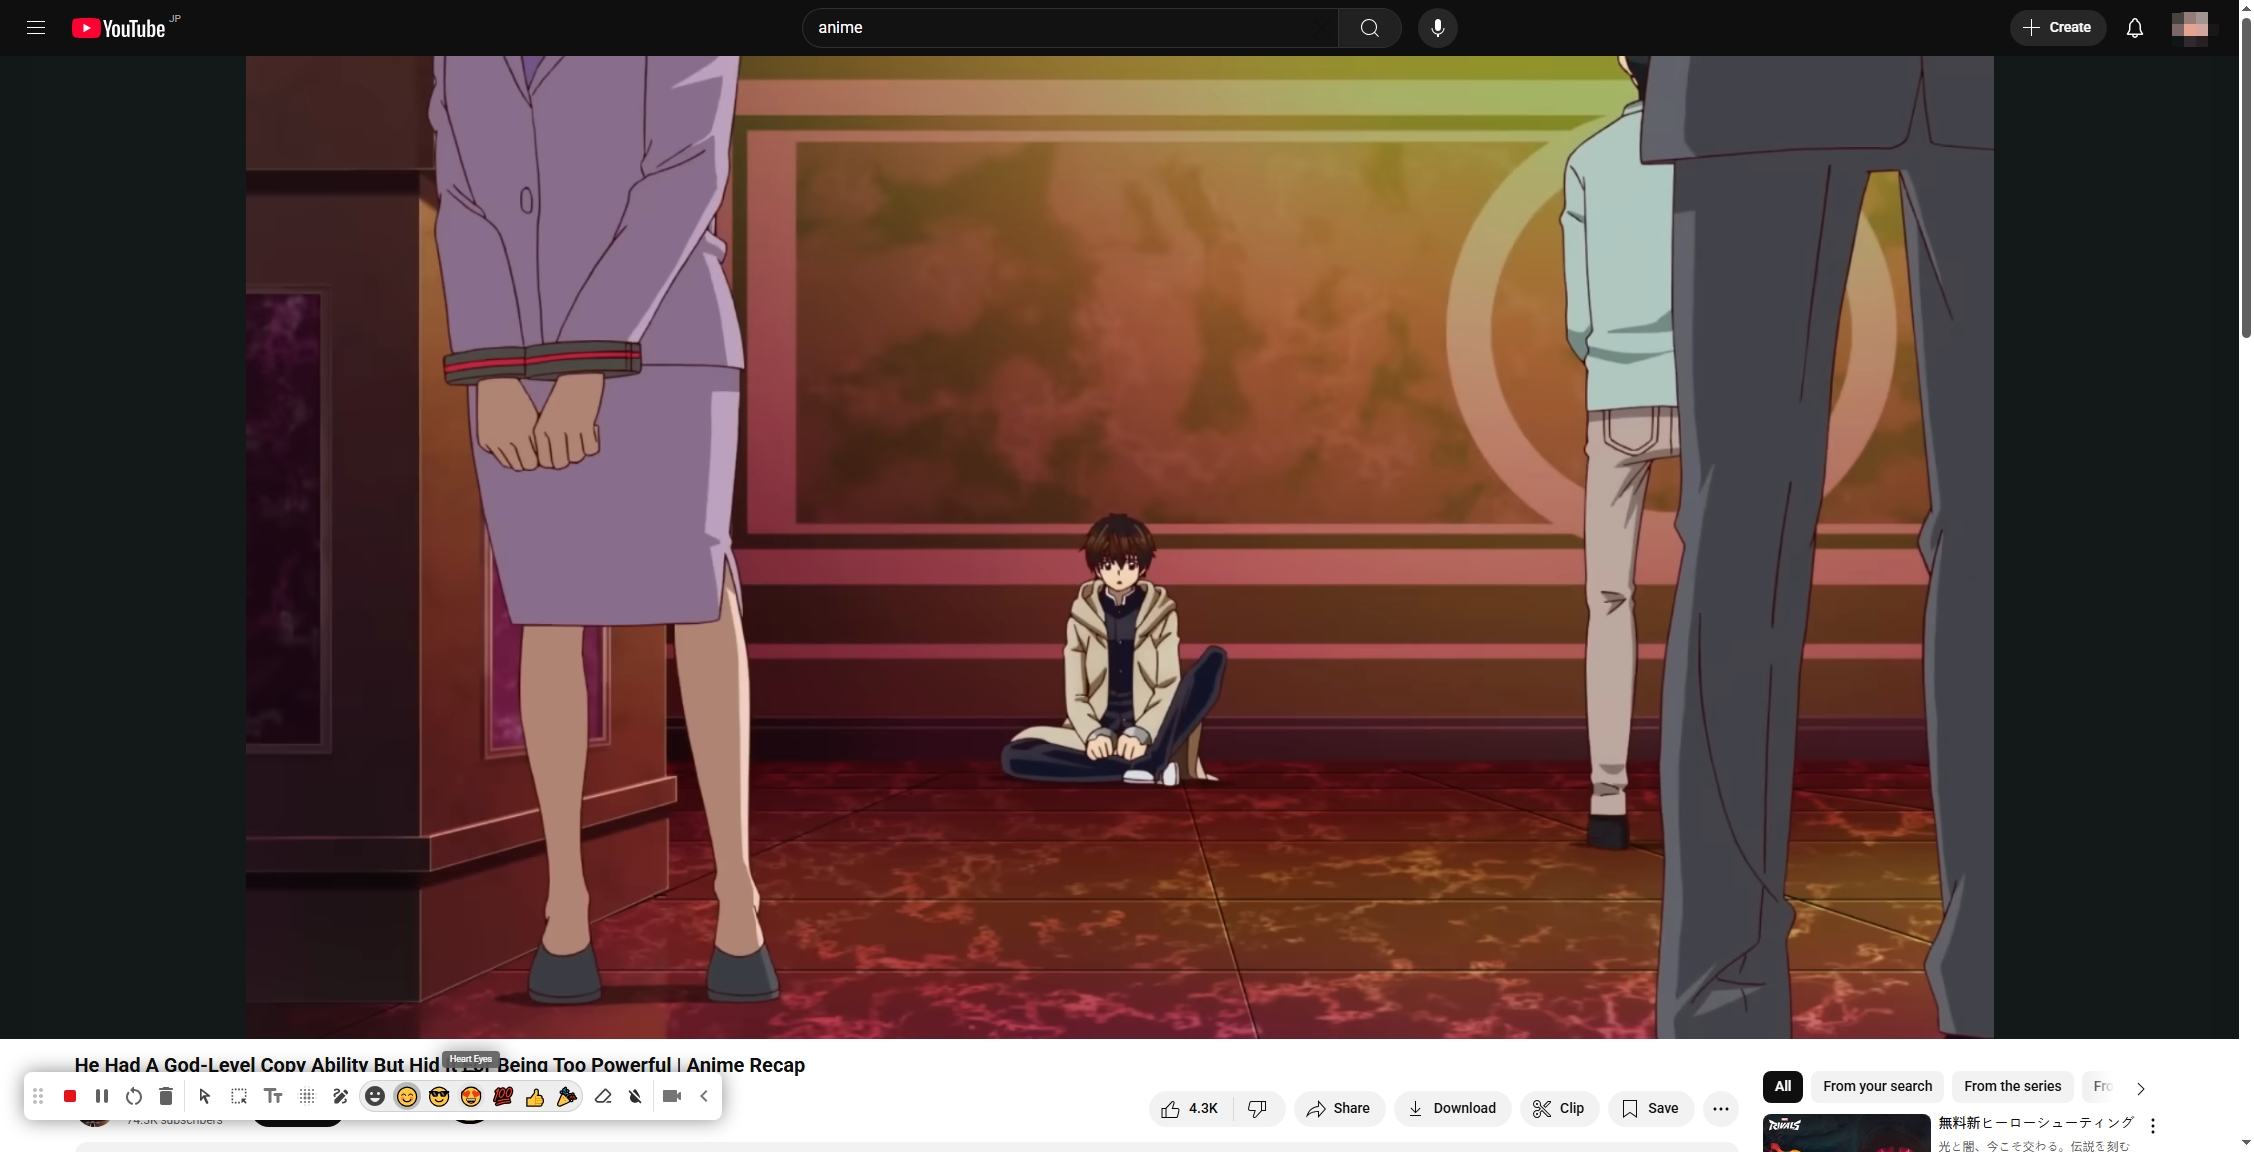
- Click the Screencastify icon on the Chrome toolbar and choose your recording options (Browser tab/Desktop/Webcam only)
- Enable or disable microphone and webcam input, and click Record.
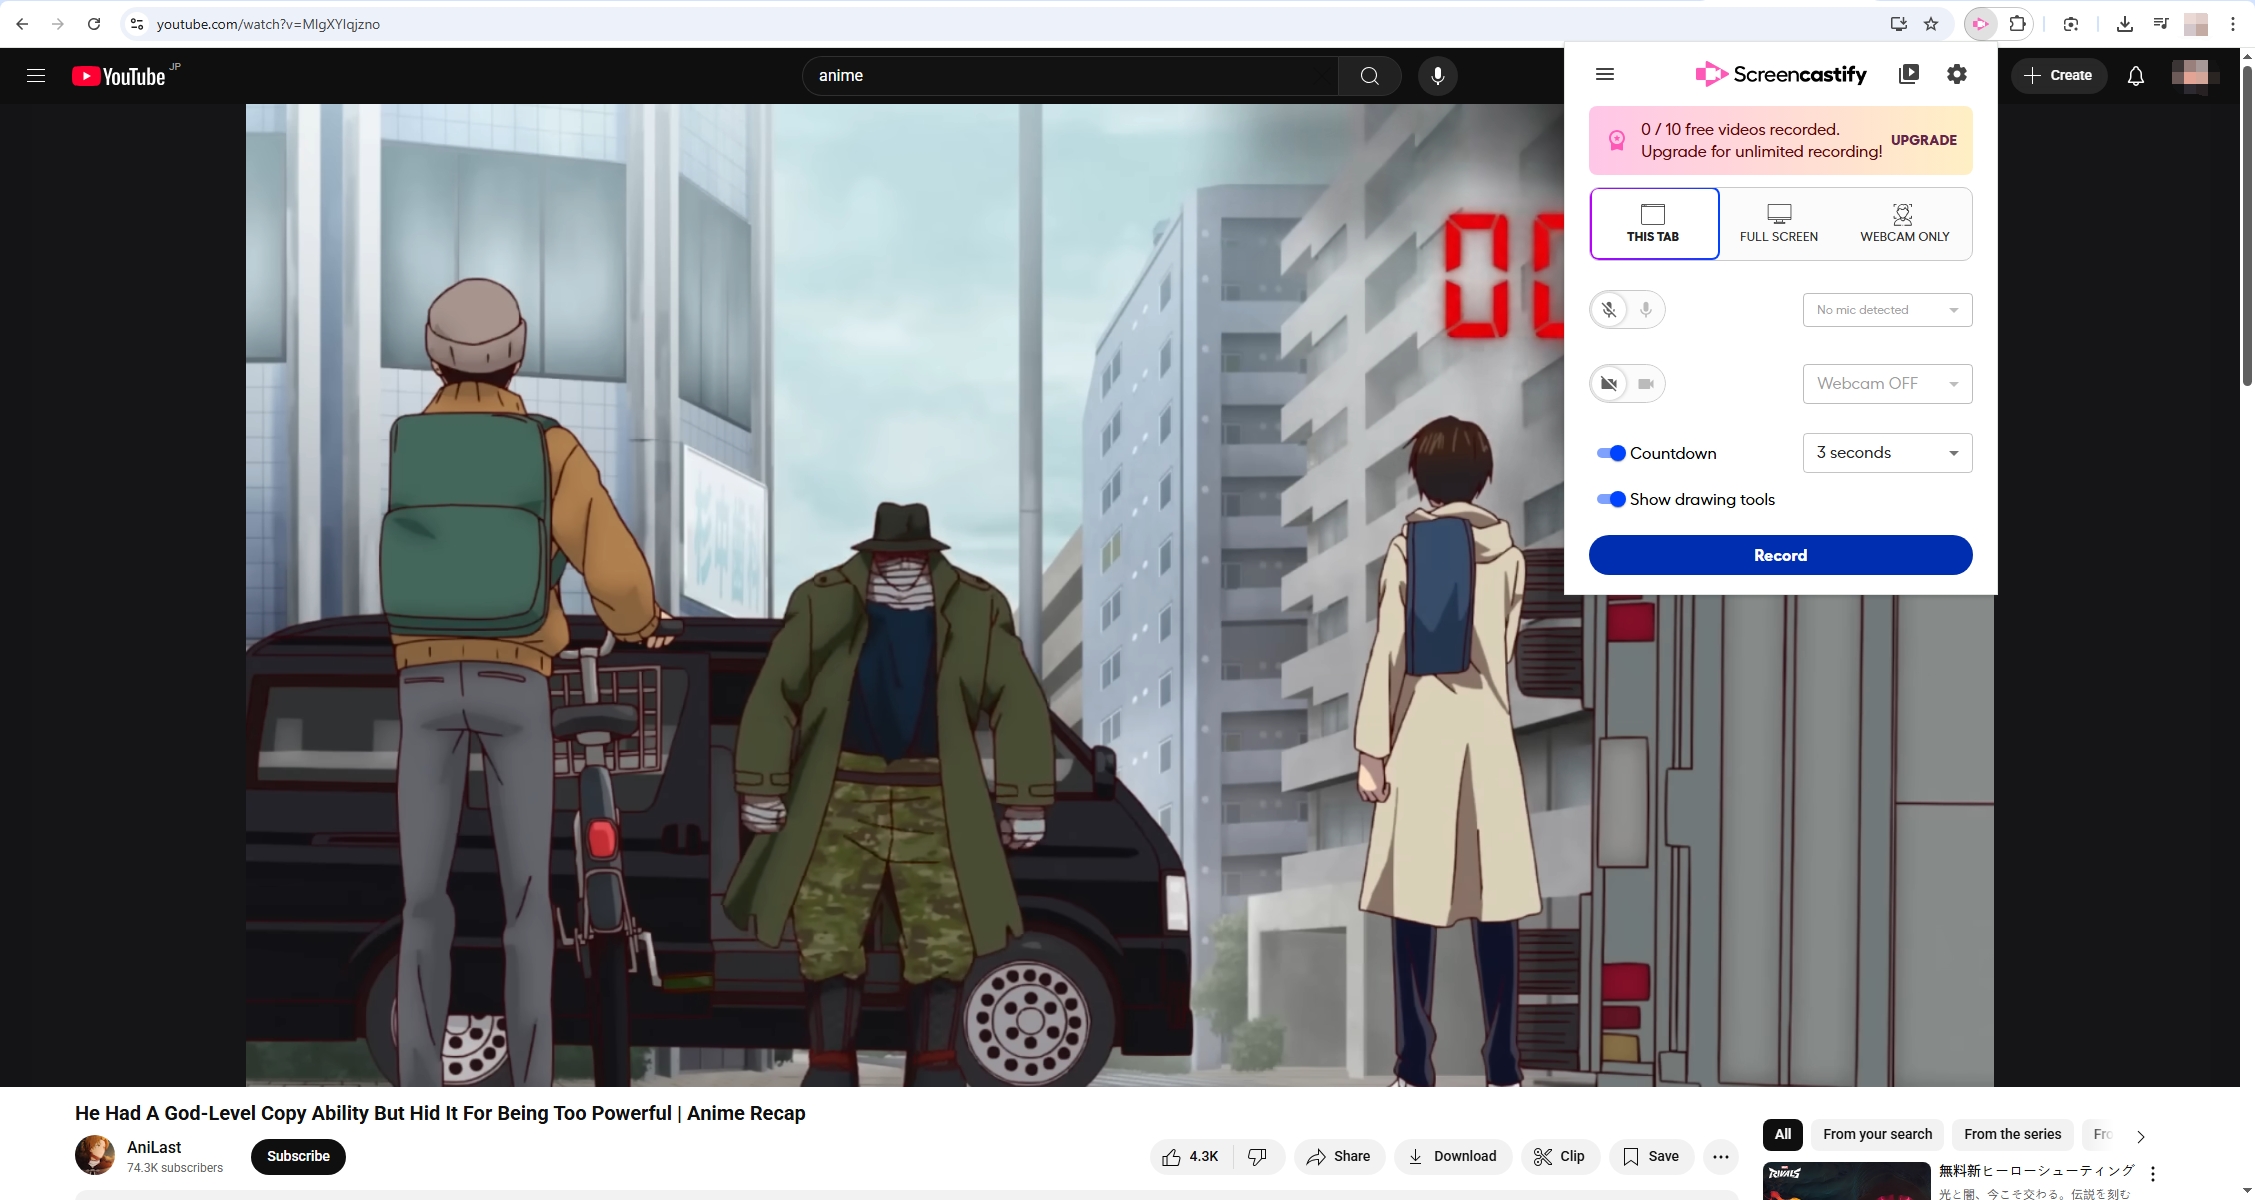
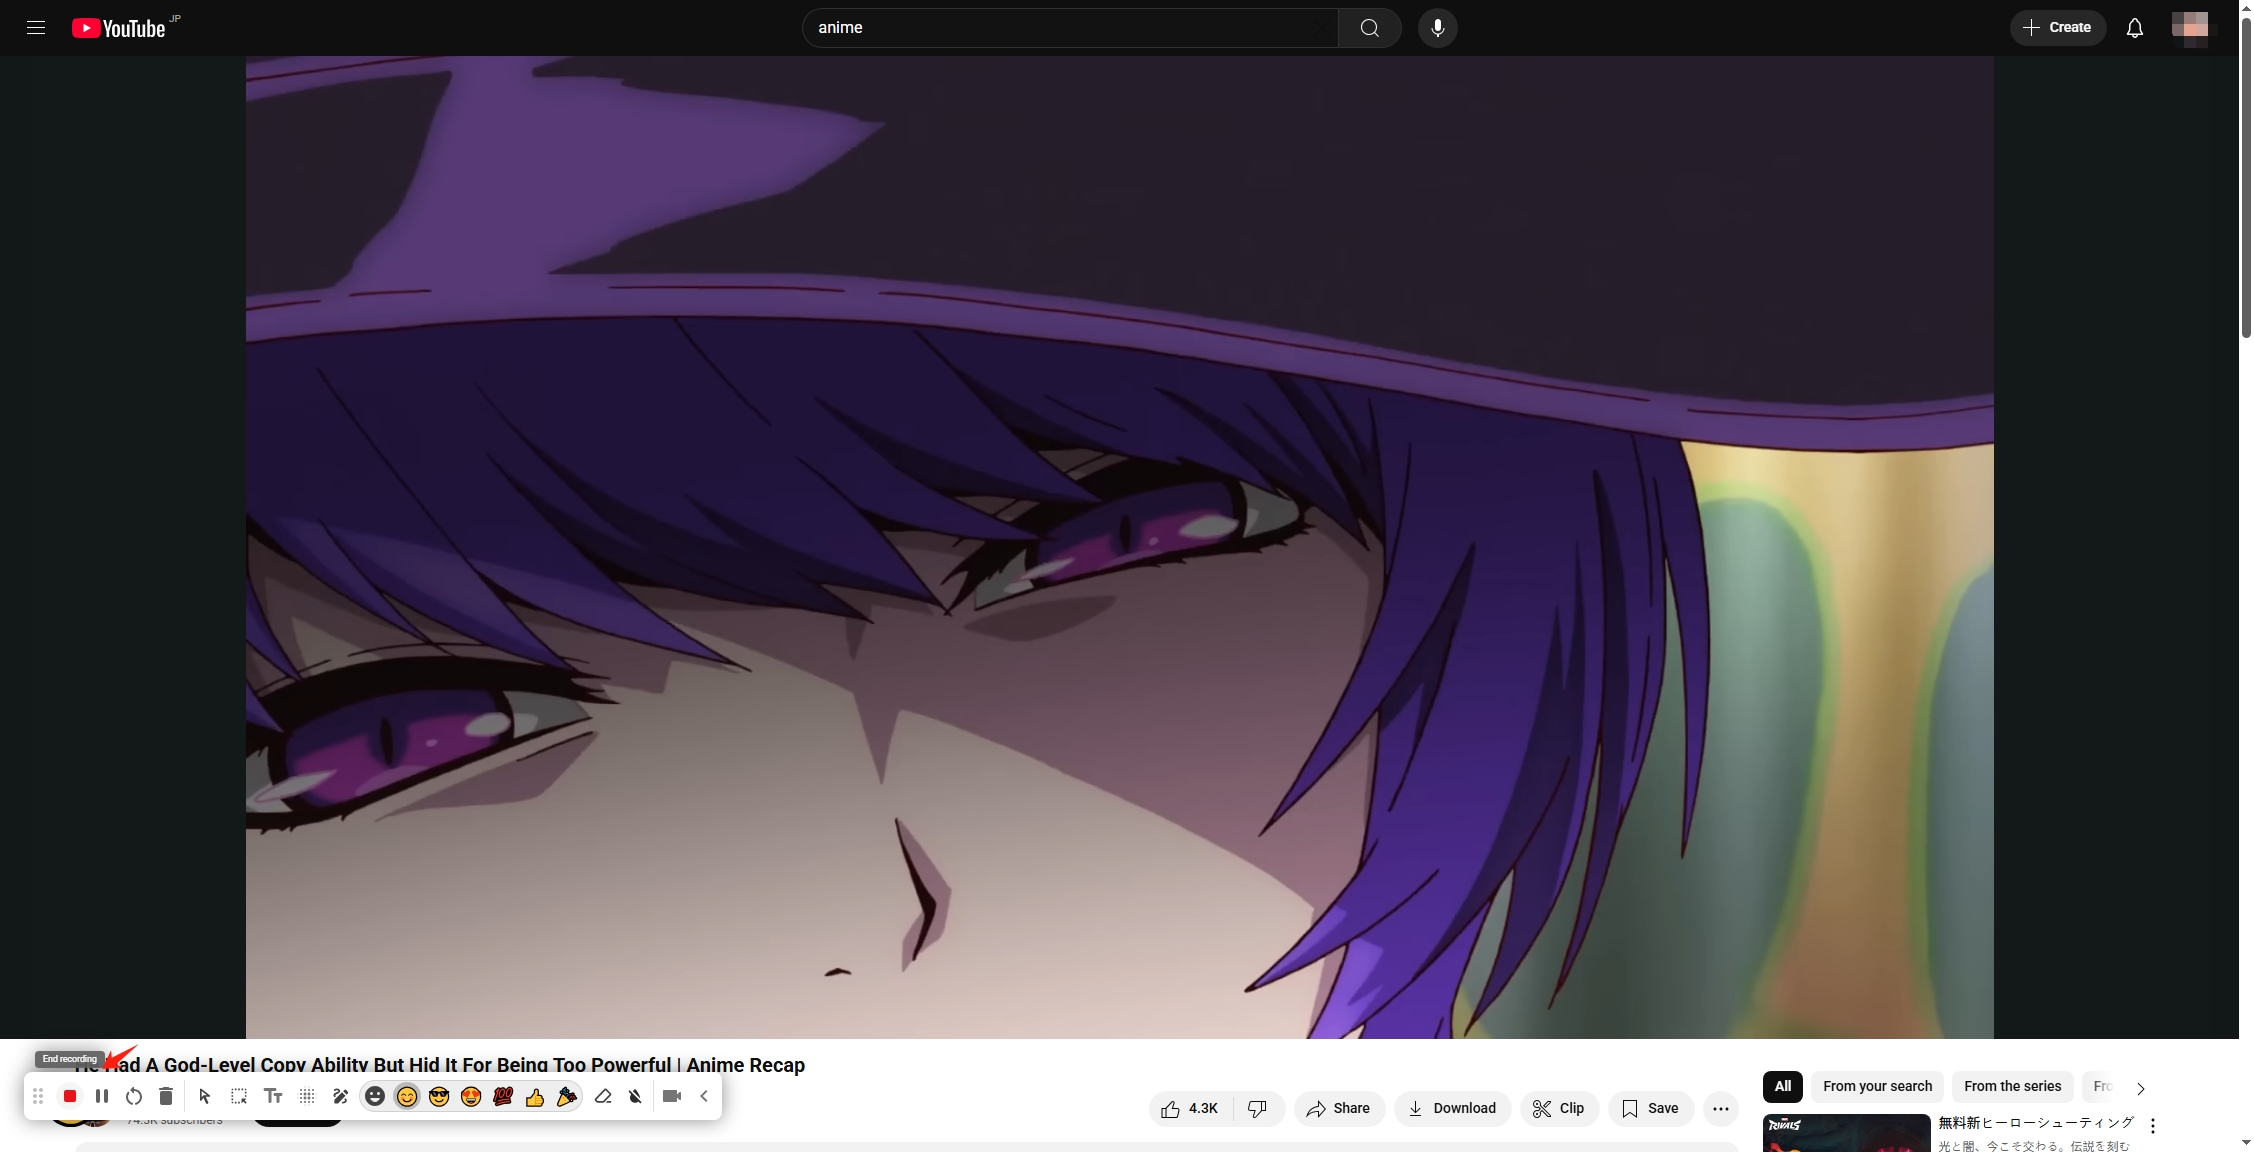
- A control panel will appear, allowing you to pause, annotate, or stop the recording at any time.
- Click End recording icon when done and your video automatically opens in the Screencastify editor.
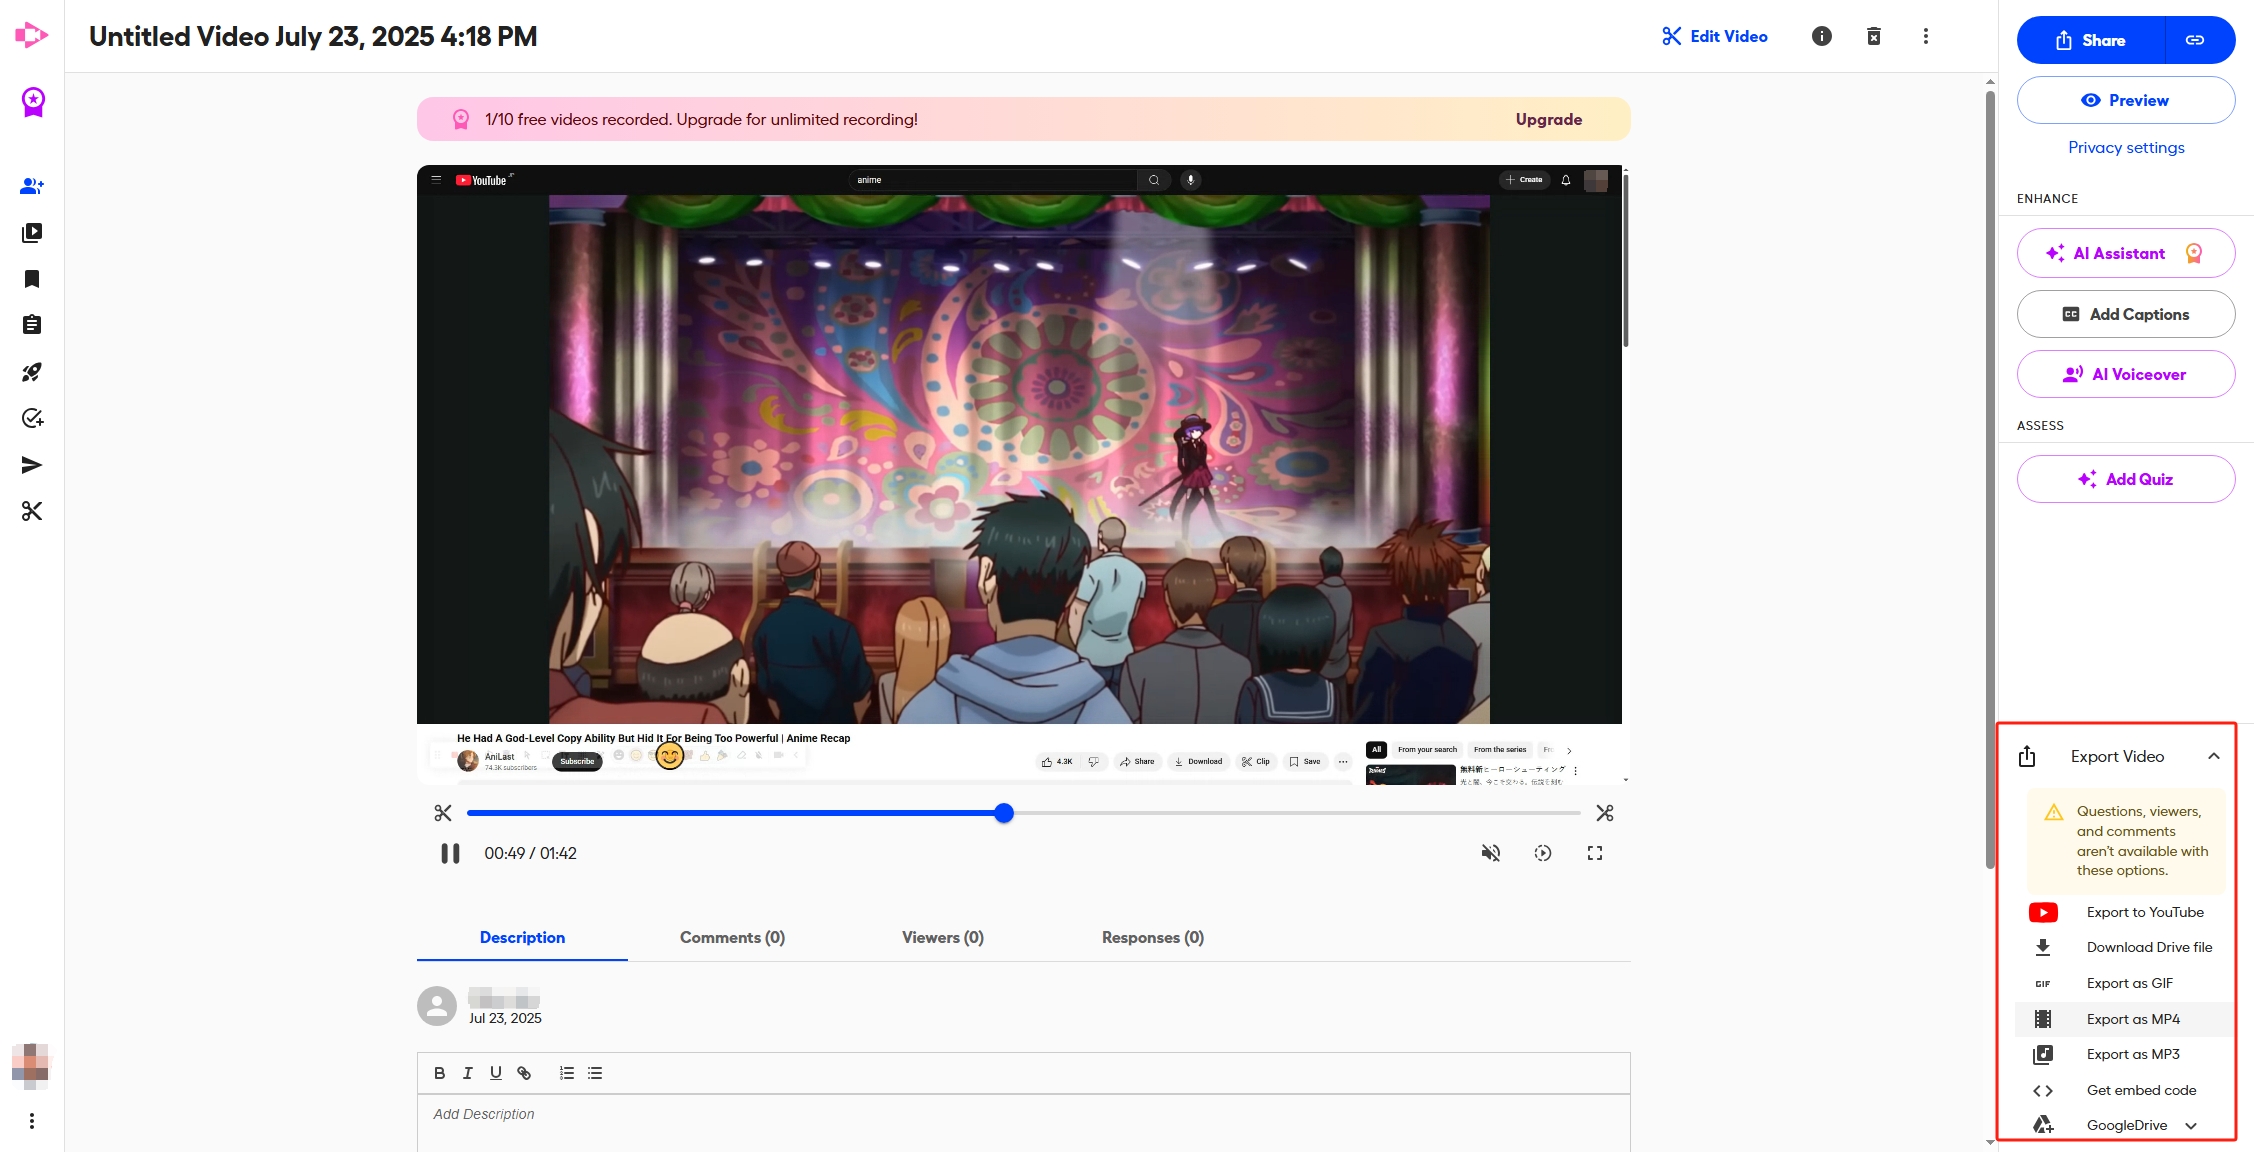
4. How to Save a Video from Screencastify
Once you’ve finished recording, Screencastify gives you several options to export your video:
Export Options:
- Google Drive: Automatically uploads to your connected Drive account.
- Local Download: Click Download > select MP4, Animated GIF, or MP3.
- YouTube: Publish directly to your connected YouTube account.
- Share Link: Generate a link to share via email or Google Classroom.
5. How to Remove Screencastify from Chrome
If Screencastify no longer meets your needs or you simply want to uninstall it, follow these steps:
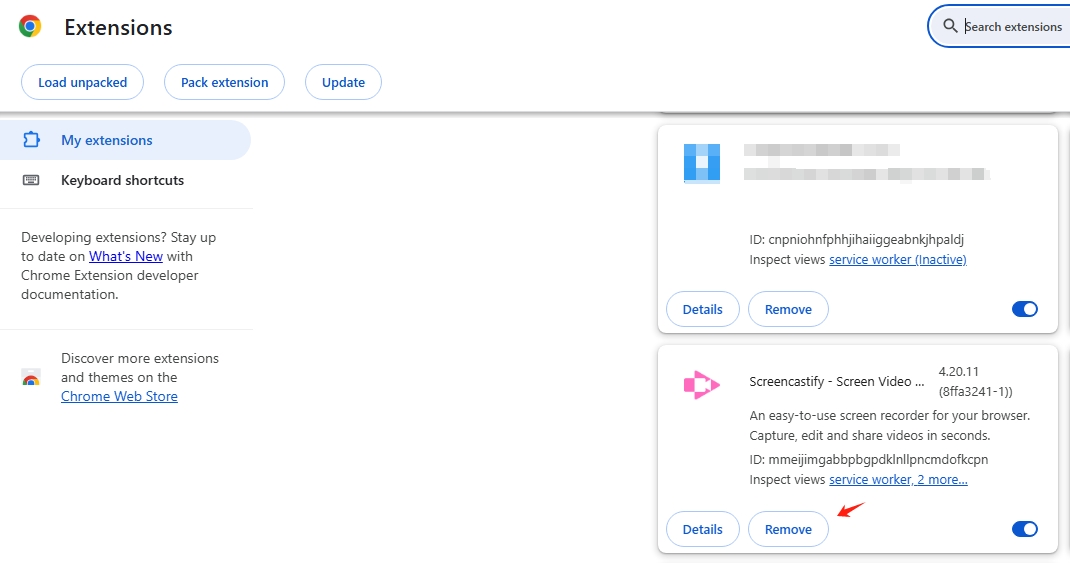
- Open Chrome > Click the three dots up in the top-right > Locate Extensions and choose Manage Extensions .
- Click the Remove button, and confirm the action in the prompt to finalize the removal.
6. Pros and Cons of Screencastify
✅ Pros:
- Easy to use and quick setup
- Integrates seamlessly with Google Drive and Classroom
- Basic editing tools included
- Works entirely in the browser — no software install required
❌ Cons:
- The free plan limits you to storing just 10 videos
- Need to get accees to Google drive
- Compatible only with Chrome
- High cost on paid versions
- Occasionally buggy on lower-end devices
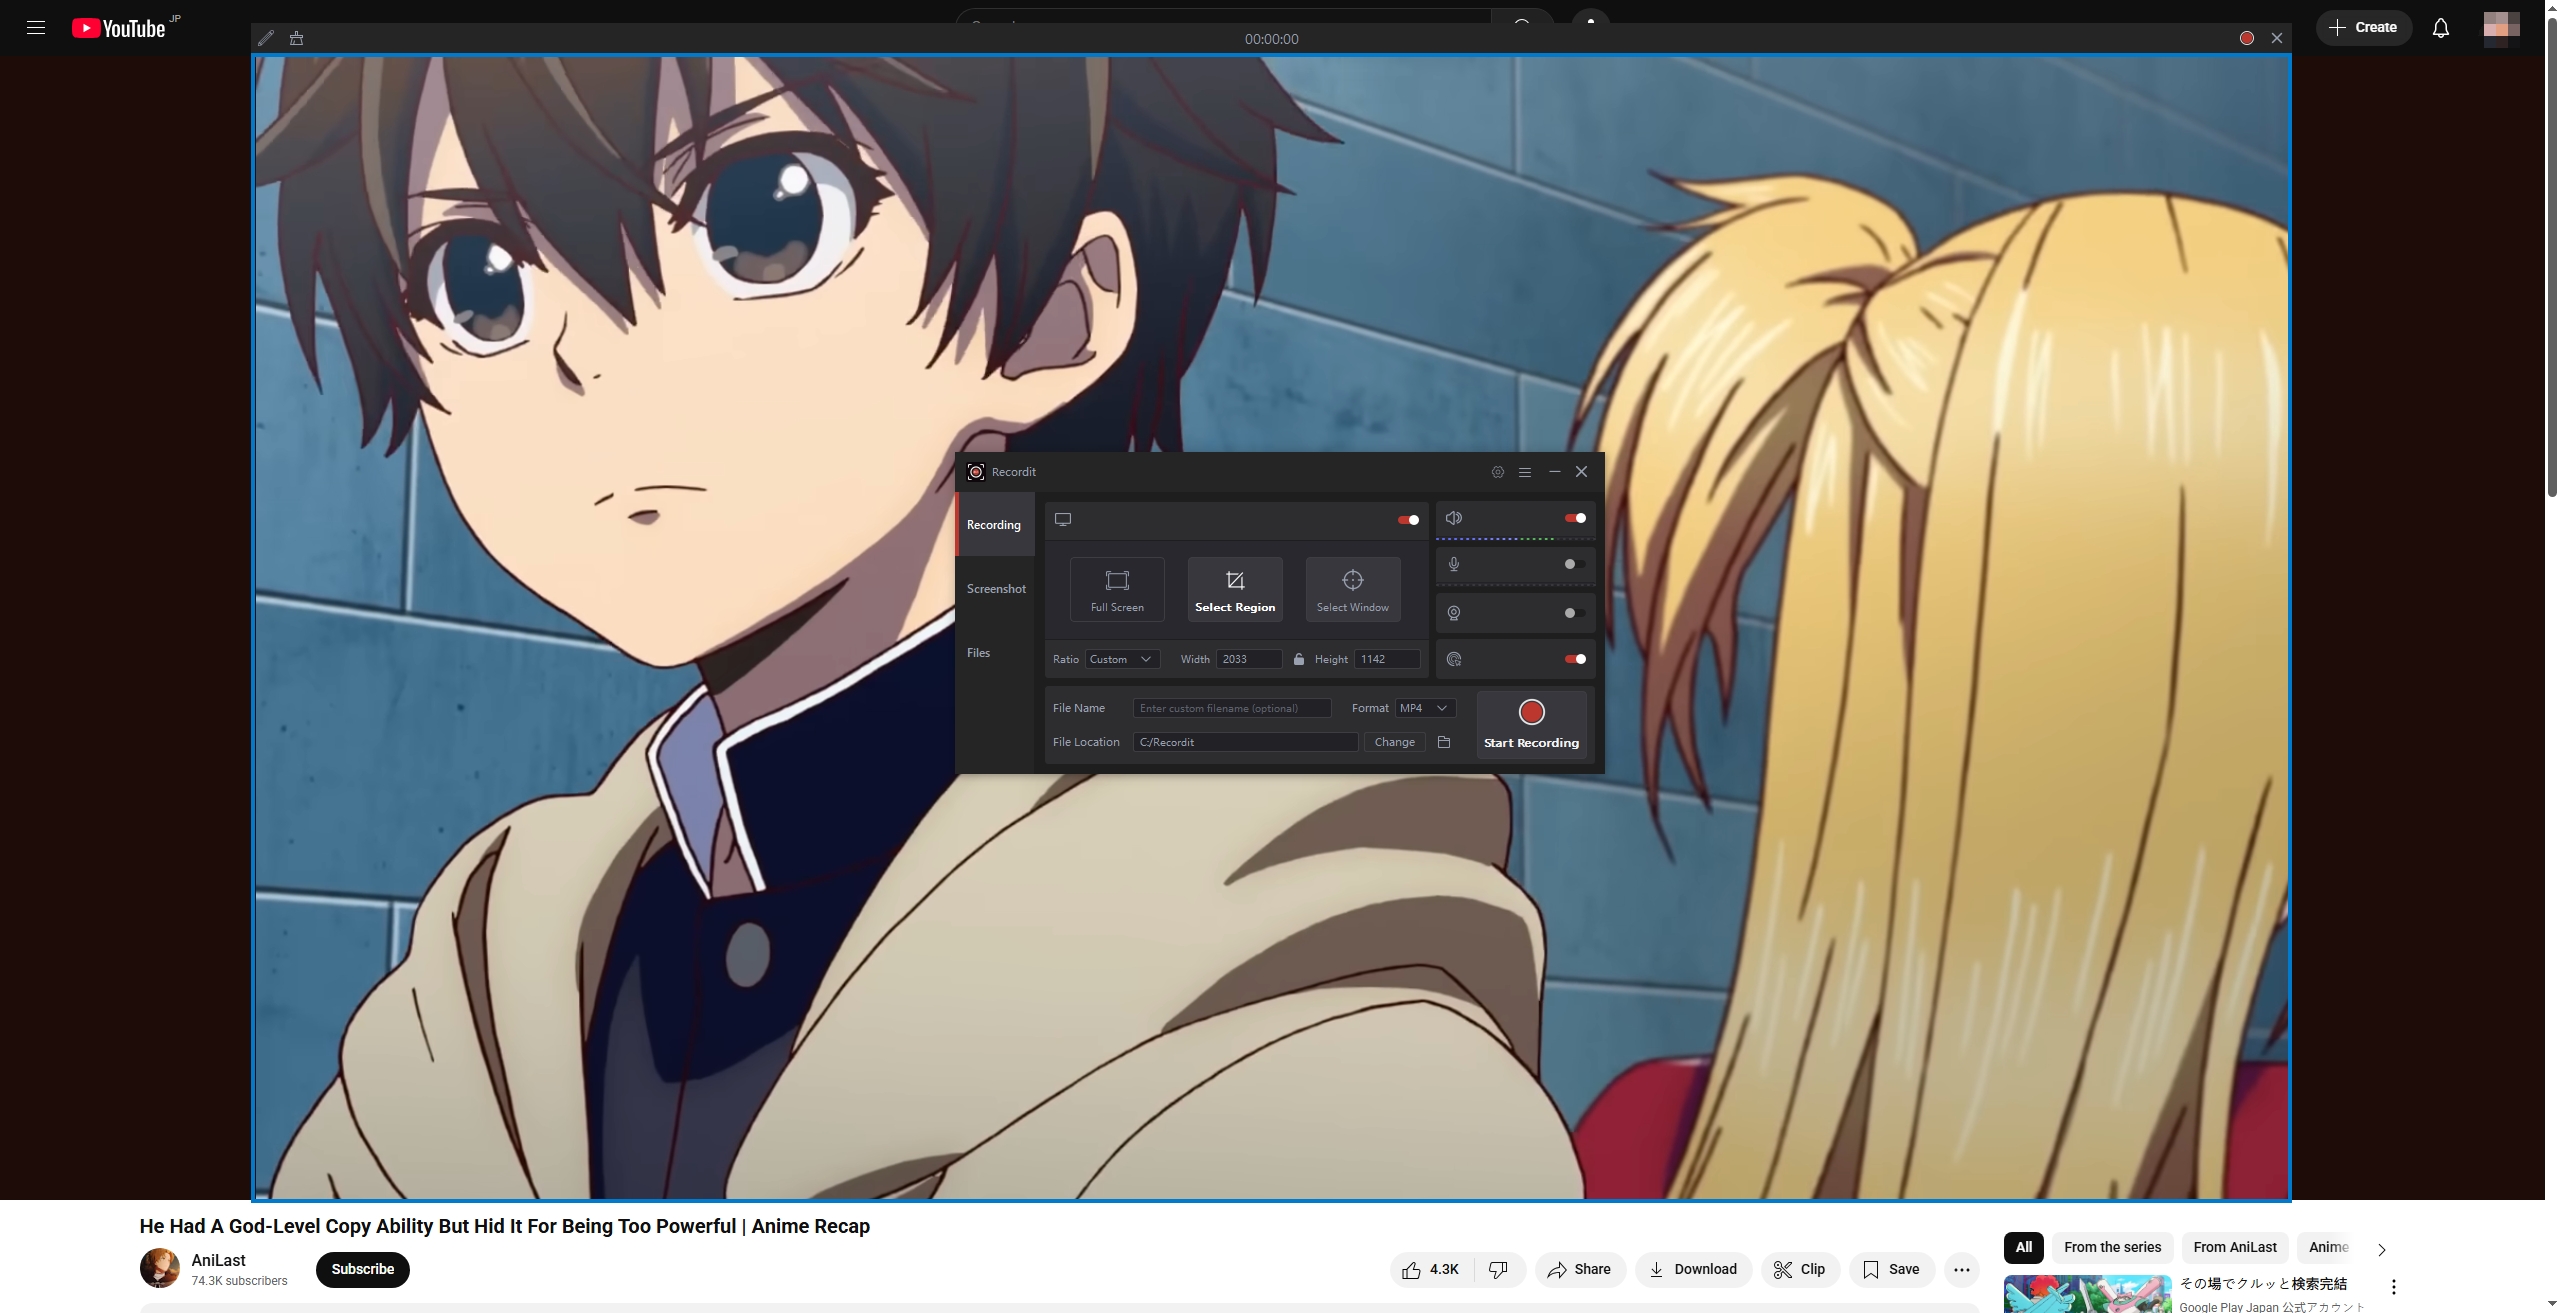
7. Try the Best Easy-to-Use Screencastify Alternative – Swyshare Recordit
If Screencastify feels limited or clunky, especially for longer videos or more control, Swyshare Recordit is a powerful, intuitive alternative worth considering.
Swyshare Recordit is a more easy-to-use screen recording software that offers:
- Full-screen, window, or region recording
- System sound and microphone capture
- No time or video limits
- High-quality MP4/MP3/GIF output
- Screenshot and annotation tools
- Compatibility on both Windows and Mac
How to use Recordit :
- Download Recordit from the official site and set it up on your device.
- Launch Recordit and choose recording options, including input resources and output format/resolution/file location.
- Set recording area and clicl to start recording the screen.
- Once finished, stop recording and Recordit will auto open the “Files” tab and show all the recordings.
8. Conclusion
Screencastify is a solid screen recording extension for Chrome users, particularly in educational environments. It’s easy to install and use, integrates with Google Drive, and works entirely in-browser. However, it also has limitations – including short recording time and browser dependency – make it less ideal for professionals or users seeking more robust functionality.
For those looking for a more powerful, flexible, and user-friendly solution, Swyshare Recordit stands out as the best alternative. It offers better performance, and doesn’t confine you to a single browser.
If you’re ready to take your screen recording to the next level – whether for tutorials, meetings, or content creation – try Swyshare Recordit today.