How to Save a Video as a New Clip?

In today’s digital age, video content is everywhere—from personal recordings and tutorials to webinars and livestreams. Sometimes, you don’t need the entire footage but just a specific part—like a 30-second highlight, a teaching snippet, or a funny moment to share. That’s where saving a video as a new clip comes in. Instead of trimming and overwriting the entire file, this method lets you extract and save the segment you want, keeping both the original and the new version safe.
Whether you’re using Windows, macOS, or prefer a command-line approach, there are various ways to save a new video clip, now let’s start exploring the details.
1. Why Save a Video as a New Clip?
- Extract Specific Moments : Easily isolate key highlights, funny parts, or memorable scenes without keeping the entire video.
- Save Storage Space : Trimming long videos into smaller clips reduces file size and saves disk space.
- Simplify Sharing : It’s faster and more efficient to share short clips on social media, messaging apps, or cloud storage.
- Support Multi-Purpose Use : A single full-length video can be split into multiple short clips for use across different platforms or projects.
2. What’s the Difference Between “Save Video” vs. “Save Video as New Clip”?
When using video editing tools or default video viewers like Photos (Windows) or QuickTime (Mac), you’ll often see two options: Save Video and Save Video as New Clip . Understanding their functions is crucial.
🔘 Save Video
- Function : Overwrites the current video file with the changes you’ve made.
- When to Use : You’ve finished editing and no longer need the original.
- Risk : Can result in the loss of the original unedited footage if not backed up.
🟢 Save Video as New Clip
- Function : Generates a separate file containing only the selected part of the video while keeping the original file unchanged.
- When to Use :
- You want to keep the original full-length video intact while saving just a specific portion as a separate clip.
- Benefit : Safest option for trimming, highlights, or content creation.
| Scenario | Best Choice |
|---|---|
| Want to keep original and clip | Save Video as New Clip |
| Don’t need the original anymore | Save Video |
| Extracting part of a longer video | Save Video as New Clip |
| Saving edits permanently | Save Video |
3. How to Save a Video as a New Clip?
Below are step-by-step instructions using various tools to save video as new clip depending on your platform and preference.
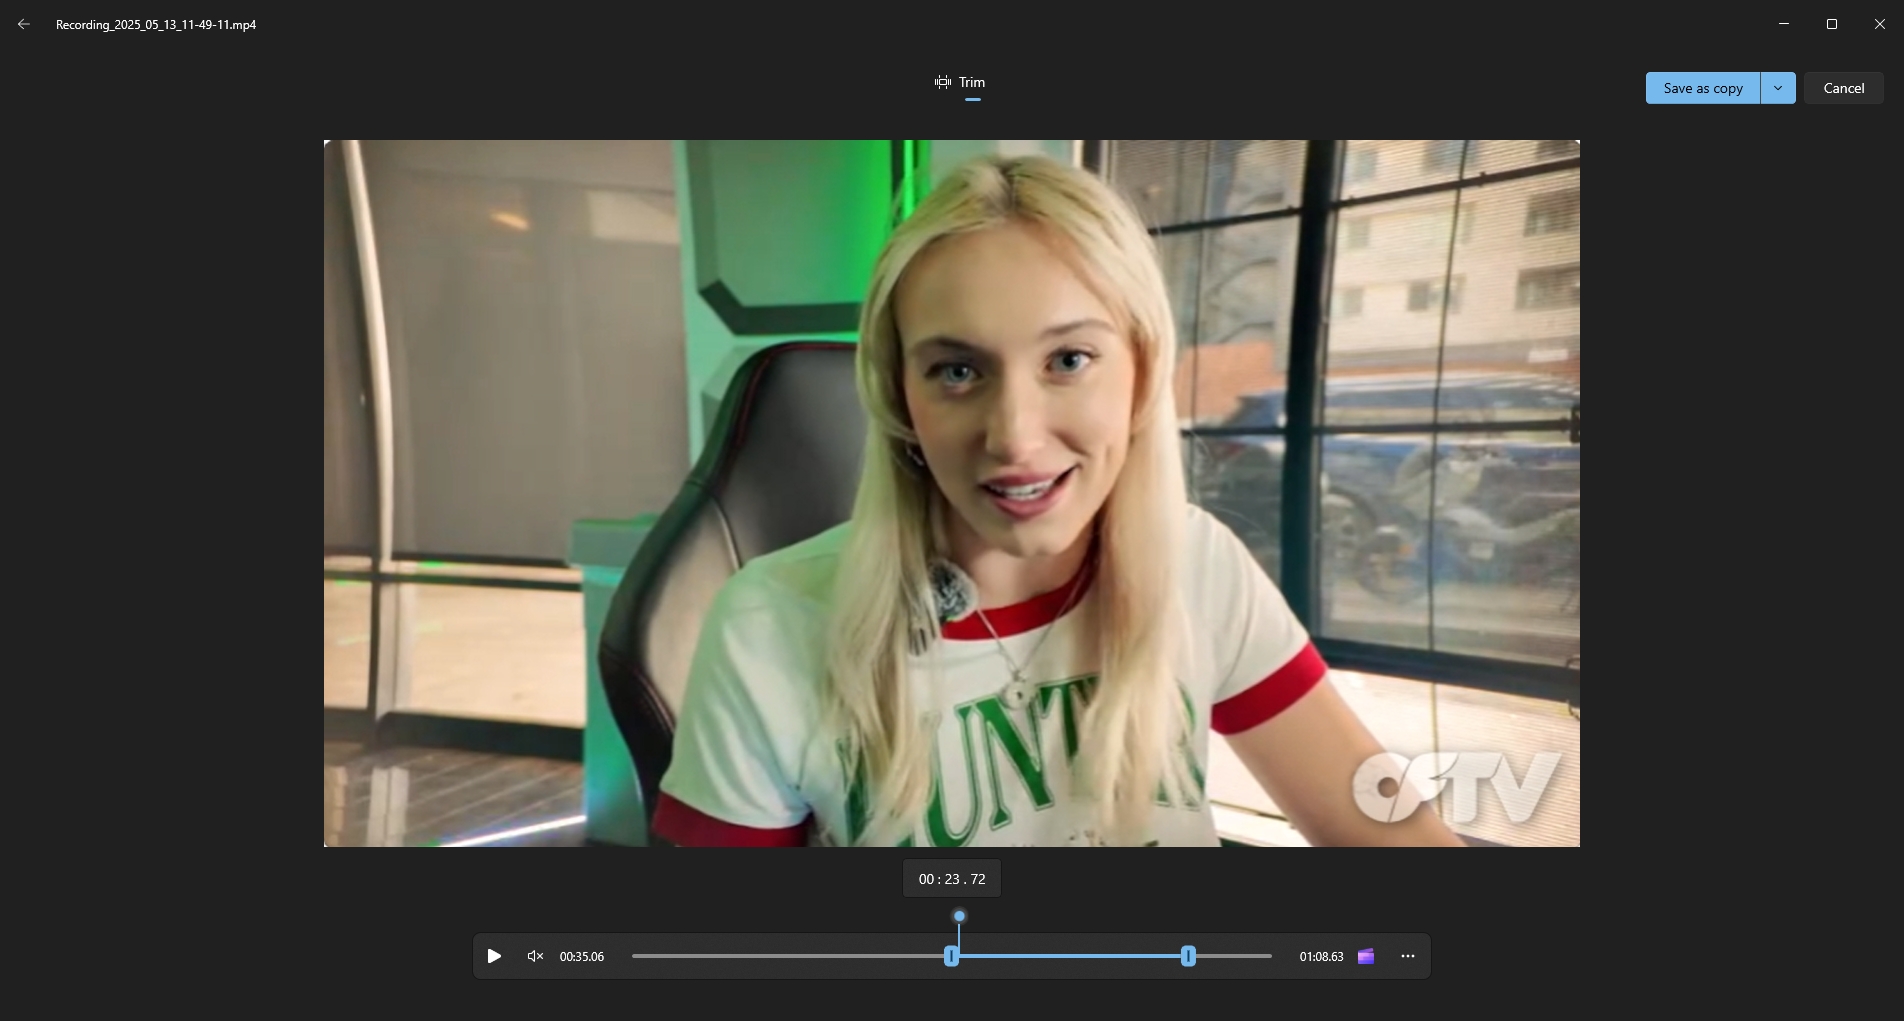
3.1 Windows Photos App (Windows 10/11)
If you’re on Windows, this built-in tool is simple and effective.
Steps:
Right-click your video file, select Open with > Photos > Trim > Adjust the sliders to set the start and end points > Click Save a Copy and the trimmed clip will be saved in the same folder with a new filename.
✅ Pros:
- Easy and built-in
- No extra installation needed
❌ Cons:
- Limited editing controls]
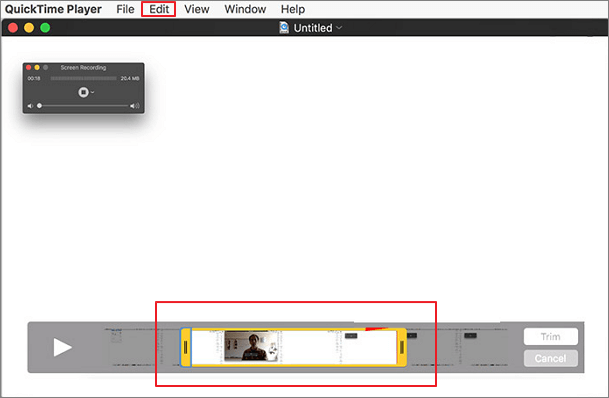
3.2 QuickTime Player (macOS)
QuickTime Player is great native tool for Mac users to trim a video and export on device.
Steps:
Open the video file in QuickTime Player > Click Edit > Select Trim > Drag the yellow sliders to select your clip > Click Trim > Navigate to File > Export As , then select your desired format and save location.
✅ Pros:
- Clean UI
- Excellent for quick Mac-based edits
❌ Cons:
- Doesn’t support all file formats
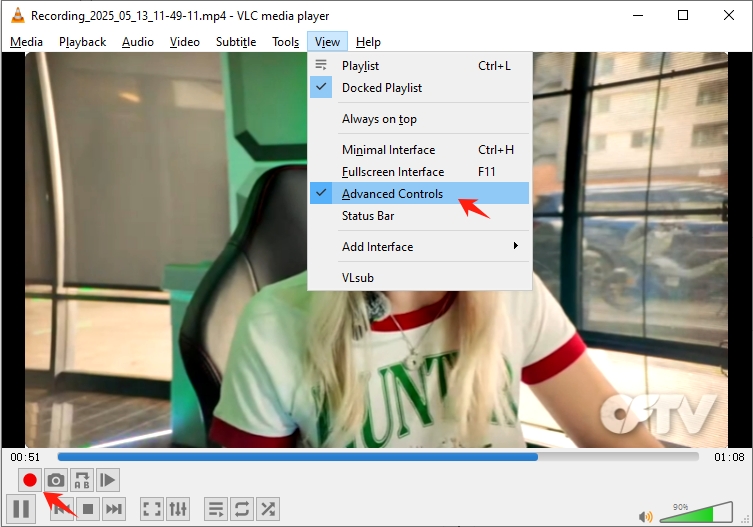
3.3 VLC Media Player (Windows, macOS, Linux)
VLC is a free, versatile media player that allows precise recording of any video segment with ease.
Steps:
Open the video in VLC > Go to View > Advanced Controls to show the Record button > Play the video and click Record at the start of your desired clip > Click Record again to stop.
The clip will be saved:
- Windows
:
Videosfolder - Mac
:
Moviesfolder
✅ Pros:
- Free and supports most video formats
- Precise manual control
❌ Cons:
- Requires good timing during playback
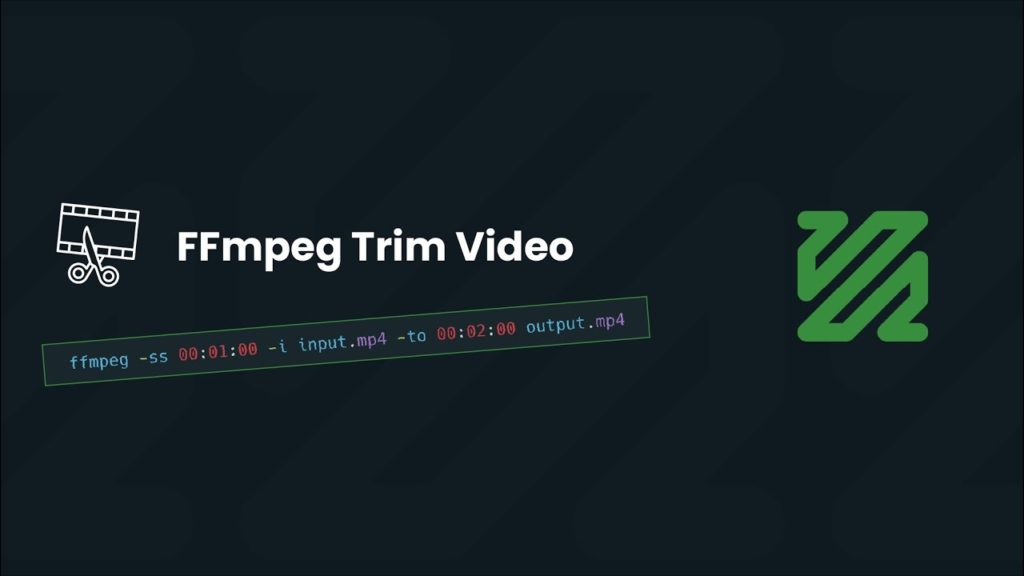
3.4 ffmpeg (Command Line Tool)
For those who like command-line tools,
ffmpeg
is ultra-fast and powerful to trim a video and save as new clip.
Using the Command:
ffmpeg -i input.mp4 -ss 00:01:00 -to 00:02:00 -c copy output.mp4
✅ Pros:
- Fast, accurate, and powerful
- Maintains original quality
❌ Cons:
- Not user-friendly for beginners
3.5 Recordit (Simple but Powerful Screen Recording Tool)
Recordit is ideal when you can’t edit the original video or need to capture a portion on-screen quickly with ease.
Steps:
- Install and launch Recordit from the official site to your device.
- Select the area of the screen where the video will play, and set other recording parameters if needed.
- Click Start Recording and then Stop Recording when finished.
- Navigate to Recordit ’s “Files” tab to find and open all recordings.

✅ Pros:
- Super simple
- Record even protected videos
- Capture still screenshots
❌ Cons:
- Limited record time in free trial
Conclusion
Saving a video as a new clip is the smart way to capture only the parts you need—whether for sharing, editing, or saving space—without losing the original footage. Tools like Windows Photos, QuickTime, VLC, and ffmpeg make it easy depending on your platform.
For quick and effortless screen captures, Recordit is highly recommended. Just record the section you need, save it instantly, and you’re done—no complex editing required. It’s the simplest way to grab any video moment on the fly.